


Look at this beautiful cheesecake.
You might well ask if anyone needs to eat anything this rich. If you do ask, and
ask it seriously, then consider reading the recipe just for the vicarious
thrill. This cheesecake is smooth and creamy and not nearly as sweet as
traditional cheesecakes. It’s also fairly easy to make. And it really is gorgeous,
isn’t it?
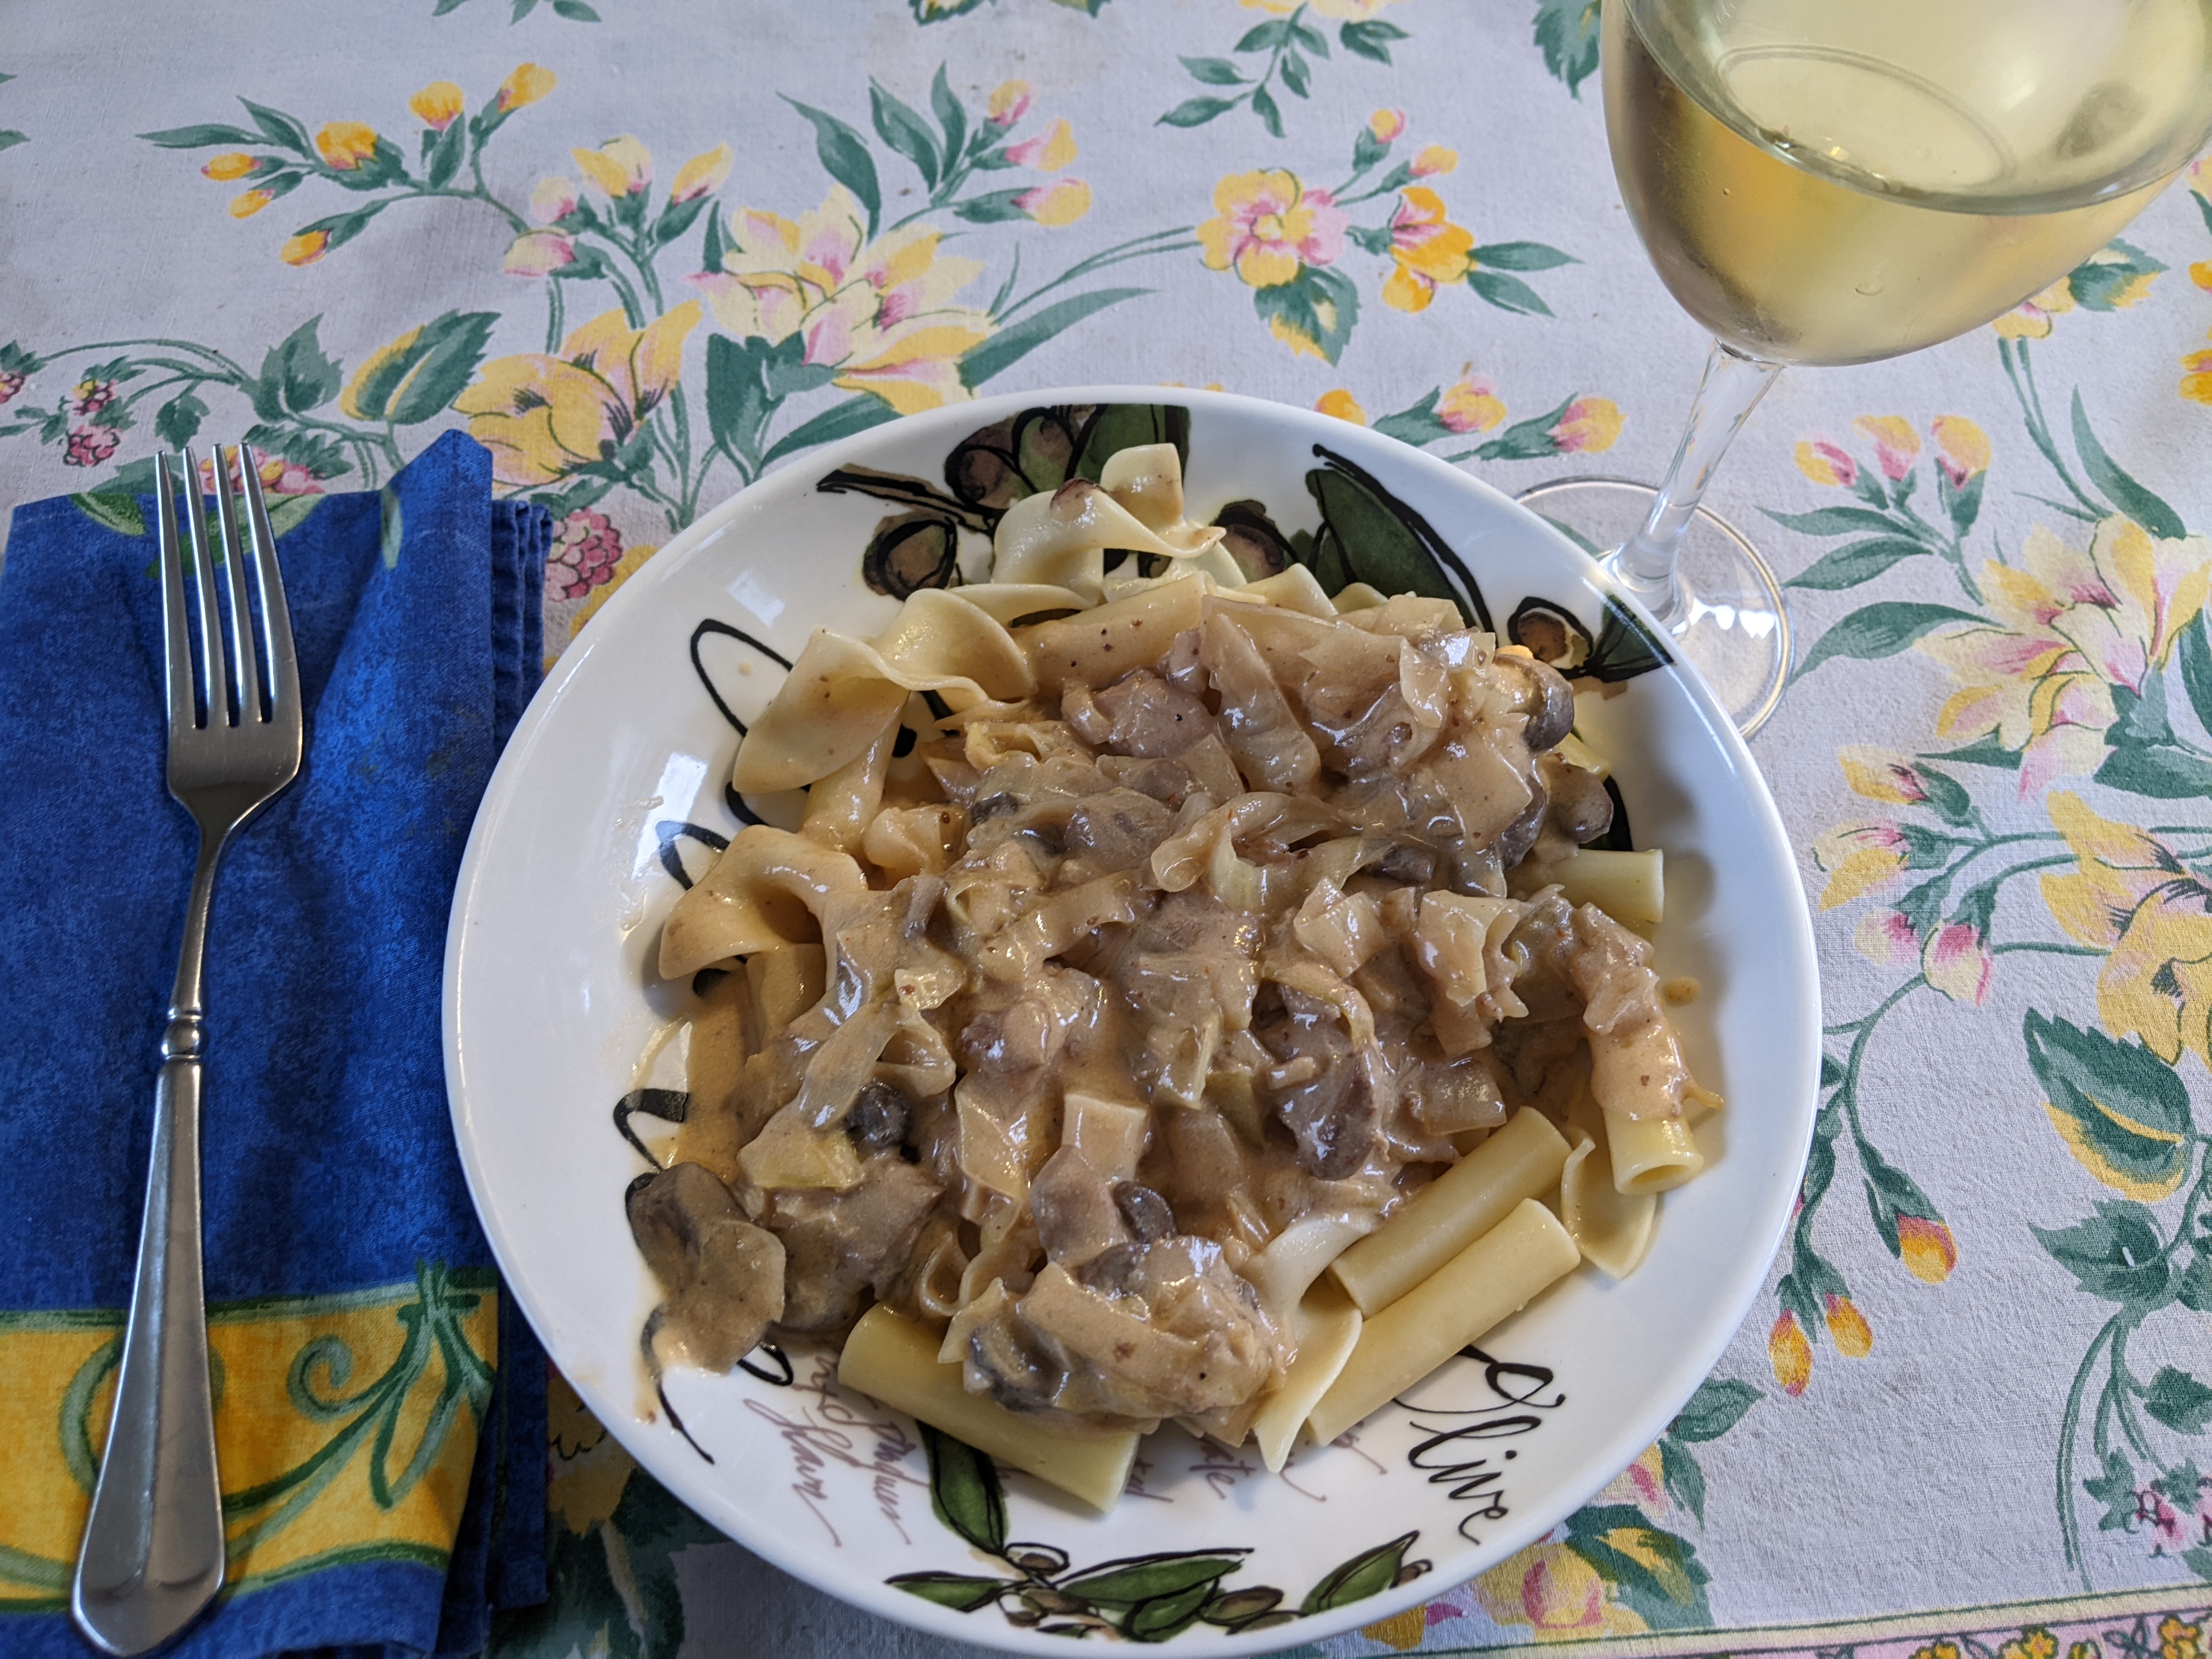
A small slice is excellent for dessert
or a treat with your afternoon tea. I made the one you see here for a group meeting.
The cake did everything it was supposed to – it wowed the group, it tasted
delicious without being too heavy, and it disappeared quickly, saving the four
of us at home from overindulging.
(adapted from Tanya Sichynsky, in
the New York Times, who adapted it from Marti Buckley)

Ingredients
1 3/4 cups granulated sugar
2 1/4 pounds cream cheese at room
temperature
1/4 teaspoon kosher salt
5 large eggs
2 cups heavy cream
1/4 cup all-purpose flour
Directions
Preheat oven to 400 F with a rack
in the center. Grease a 10-inch springform pan and line with parchment paper,
leaving 2 or 3 inches overhanging the rim of the pan. A fun way to make the parchment
conform to the pan is to first scrunch it into a tight ball. This relaxes the
paper and after you've un-scrunched it, it will line your pan beautifully. Use two pieces of paper, if you
need to, to completely line the pan. Grease the paper (and if you’ve used two
pieces, grease between the layers so they stick and lie flat).

In large bowl, using a hand mixer
(or in the bowl of a stand mixer fitted with the paddle attachment), cream
sugar and cream cheese until smooth. Our 46-year-old hand mixer can’t handle
that kind of work, so I creamed the mixture with a wooden spoon for about 5
minutes.

Add salt and mix. Add eggs one by
one, beating until fully incorporated before adding the next. (At this point I
was able to use the hand mixer.) Beat in cream. Add flour and mix on low.


Pour batter into prepared pan and
bake until browned and almost burnt on top, 50 to 60 minutes. The center will
still be jiggly. Remove cake from oven and cool completely on a rack. It will
have risen dramatically in the oven and will sink as it cools.

Before serving, remove rim of
springform and gently tug away parchment paper. Serve at room temperature.

Book 1: Come Shell or High Water

When widowed folklorist Maureen
Nash visits a legendary North Carolina barrier island shell shop, she discovers
its resident ghost pirate and the mystery of a local’s untimely death . . .
Buy links:
IndieBound (locally owned independent
bookstores near you)
And in the meantime, you can enjoy
Molly's other books.

The Boston Globe says Molly MacRae writes
“murder with a dose of drollery.” She’s the author of the award-winning,
national bestselling Haunted Yarn Shop Mysteries and the Highland Bookshop
Mysteries. As Margaret Welch, she writes books for Annie’s Fiction and
Guideposts. Her short stories have appeared in Alfred Hitchcock Mystery
Magazine and she’s a winner of the Sherwood Anderson Award for Short
Fiction.
Visit Molly on Facebook and Pinterest and connect with her on Twitter or Instagram.