Showing posts with label sheilaconnolly. Show all posts

Friday, April 26, 2019

Gnocchi with Cream and Mushroom Sauce


Some days time just gets away from you, and the cupboard and fridge are pretty much bare. No, don’t say “go out to dinner.” And I haven’t tried any of those services that show up at your door with a complete meal, ready to eat (how do they work?). Besides, I like the challenge of putting together real grown-up food with whatever I can scrounge.

Last time I was at the market I picked up a package of gnocchi (not frozen) for just such an occasion. I knew I wanted a sauce, and I happened to have all the likely suspects, er, ingredients, so I improvised a quick dish.

Gnocchi with Cream and Mushroom Sauce

Ingredients:


1/2 pound mushrooms (our local market has started stocking slightly more exotic mushroom varieties, and I buy them whenever I find them there so they’ll keep ordering them)
1 medium shallot, chopped
4 Tblsp butter (1/2 stick)
Salt and freshly-ground pepper
1/2 cup heavy cream
1/2 cup freshly grated Parmesan cheese
1 package gnocchi

Instructions:

Slice off the ends of the mushroom stems (if the ends seem dry) and dice them.

Mushrooms (cleaned and chopped)

In a large skillet, melt the butter and saute the chopped shallots until they’re cooked but not brown. Turn up the heat and add the diced mushrooms. When they have absorbed all the butter, reduce the heat to low and add salt and pepper, and toss the mushrooms in the pan. When they start releasing their juices, turn up the heat again and cook for a couple of minutes, stirring frequently. Add the cream and let it thicken slightly. Then set aside the pan while you cook the gnocchi.


Cooking the little critters takes next to no time. Fill a large saucepan with water and bring to a boil. Add the gnocchi. When they come bobbing to the top, they’re done (takes about 3 minutes). Drain them and put them into the pan with the mushrooms. Toss to cover with the sauce.


To serve, place in large flattish bowls, sprinkle with the grated Parmesan, and eat while the gnocchi is still hot.


This is a pretty forgiving dish, in terms of how much of anything you use. Just aim for a good balance of sauce to gnocchi—you don’t want them to be dry. If you don’t happen to have gnocchi on hand, you can use any number of pastas. Same with the mushrooms—use whatever kind you have.

Easy, right? And tasty!


Have patience! It's coming July 9th! 

After fifteen years away, Kate Hamilton never expected to end up back in her hometown of Asheboro, Maryland full time. And she definitely didn’t expect to be leading the charge of recreating the town as a Victorian village and tourist attraction. But as unexpected as the circumstances are, Kate is ready to tackle them.

The town, on the other hand, is going to take some convincing. Ever since Henry Barton’s shovel factory closed down, it’s started to seem like there are more tumbleweeds than tourists rolling down Main Street. Kate’s ideas are good, but ambitious―and her friends and neighbors are worried that finding the money for them would push the town even further into debt.
Luckily, Kate and the handsome historian Joshua Wainwright are two very determined people who may have come up with a solution. The Barton mansion, meant to be the centerpiece of the Victorian village, has proven to be a veritable goldmine of documents about the town’s nineteenth-century history, and Kate is convinced the papers hide something of value. When a dead body turns up in the town library―mere hours before the documents were meant to arrive there themselves―Kate begins to worry that the papers spell danger instead of dollars. It seems that someone doesn’t want these forgotten secrets coming to light, and they’ll do whatever it takes to keep Kate quiet…

Friday, January 18, 2019

Tuna Curry with Rice


In a universe far far away (that is, my starving student days) I had a paperback James Beard cookbook with a great recipe for Curried Tuna, which was inexpensive, easy to make (1 pan) and tasty. I have no idea where that cookbook went. 

Currently I’ve got so much going on in my life that I seldom have time to shop for food (usually butter!), so I’ve been scrounging meals from what I have on hand.


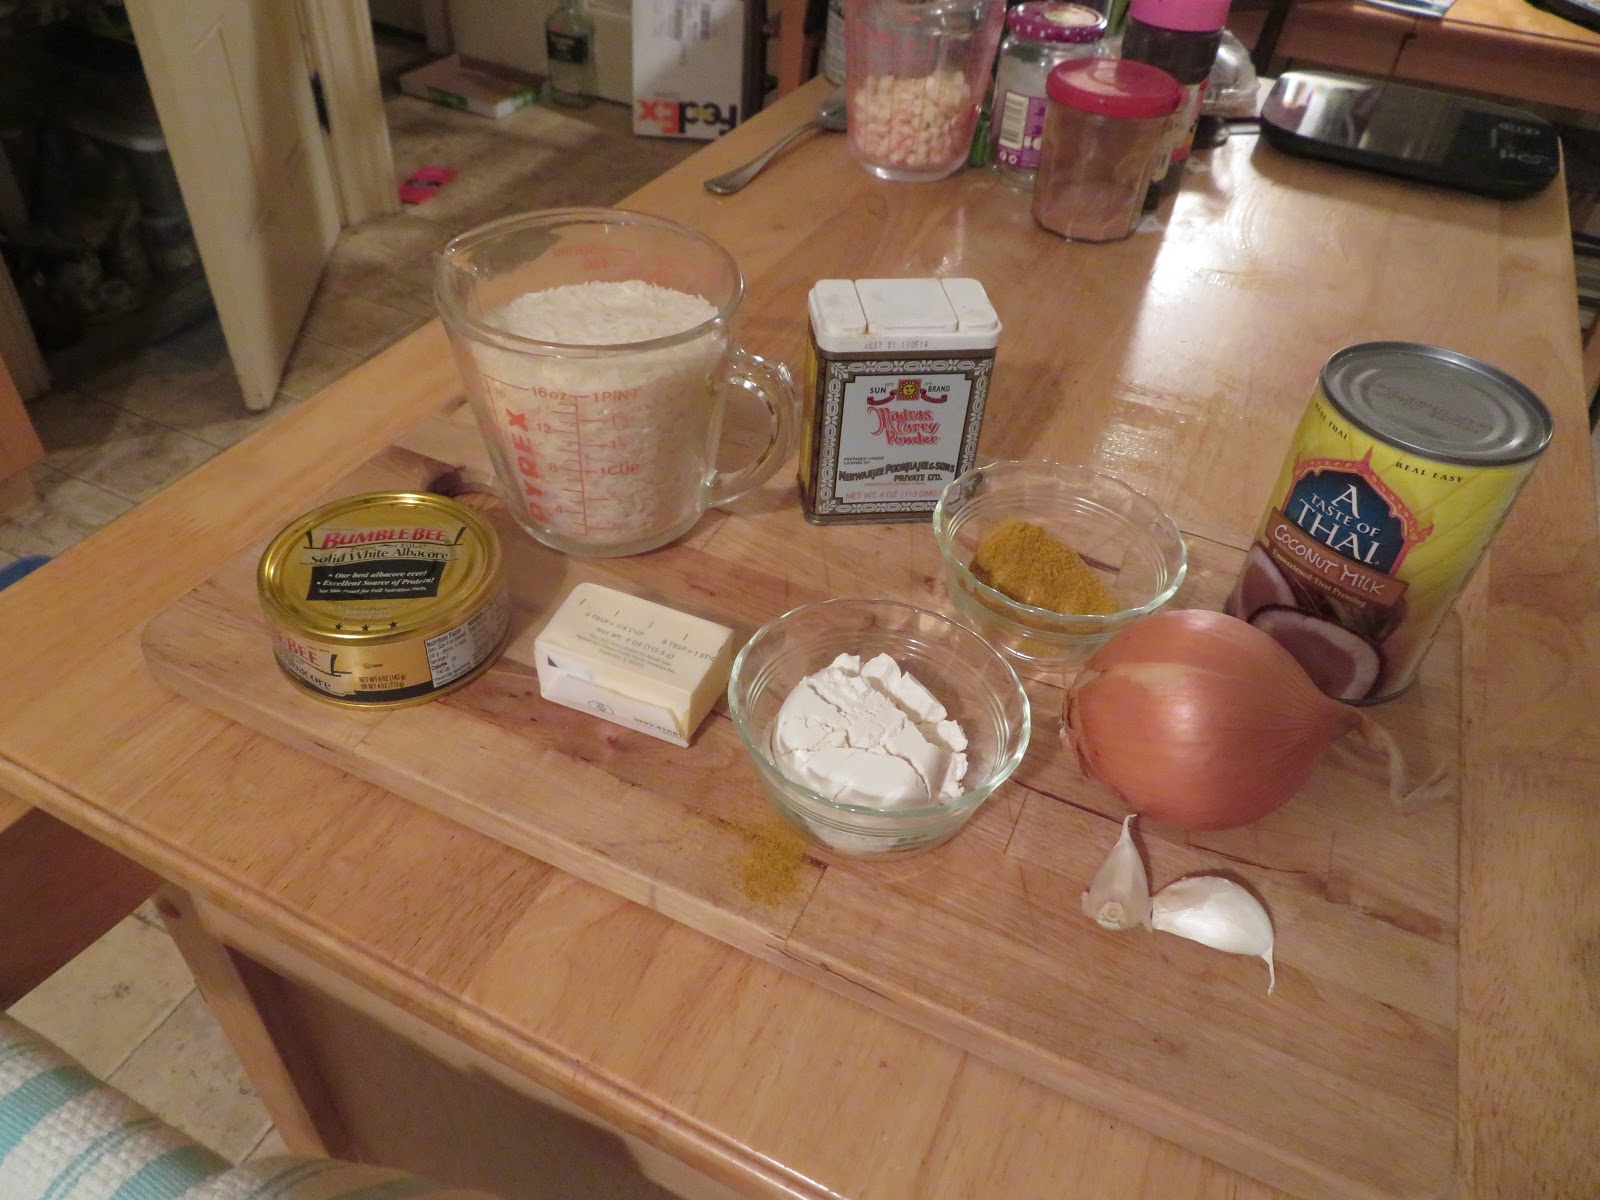
By some miracle, I have all the ingredients for tuna curry, mostly canned tuna and rice and nice things like coconut milk. Hooray, I can eat!


Curried Tuna with Rice


Ingredients:


2 cups uncooked rice
1/4 cup butter (if you’re using tuna packed in oil, you can use the oil as well)
1 medium yellow onion, diced
2 garlic cloves (I like to use a garlic press)
1/2 tsp salt
1 Tblsp curry powder* 
1/4 cup flour

2 cups milk or coconut milk (canned)
1 can (6 oz.) tuna (or use two cans if it looks skimpy)


*There is no such thing as a single curry flavor—if you have one you like, go with that. It’s also hard to decide how much to use, so taste as you go.

My favorite curry powder
Instructions:


Start your rice cooking (I discovered years ago that a microwave does this very nicely. The basic ratio of rice to liquid is 1:2, and on medium microwave temperature it takes about 15 minutes to cook If you have a favorite way of cooking rice, use that.)


In a saute pan, melt the butter or use the oil from the tuna (or combine the two), heat over low or medium heat, and saute the onion and garlic (and you can add another vegetable if you want), When they are soft, add the salt and curry powder and continue to cook for a few more minutes.


Add the flour to the cooked vegetable and stir until the flour is evenly distributed and has absorbed the butter/oil. Still over medium heat, add milk or coconut milk to cover the vegetables and stir until smooth. When the sauce has begun to thicken, add the rest of the milk/coconut milk and blend (the sauce will continue to thicken). Keep stirring to prevent lumps!


Add the drained tuna and bring the mixture to a simmer.


When the rice is cooked, fluff with a fork. Place a serving of rice in a bowl and add the tuna curry on top. Serve with a green vegetable if you want (this provides nice color contrast).


So you can see that this is a quick, savory dish for a cold winter night. The flavor improves with age, in case you make too much for one meal.


Friday, January 11, 2019

Decadent Chocolate Almond Cookies


A couple of weeks ago I took on the challenge of making a chocolate peppermint ice cream pie (there’s none left!).


At the end of that recipe I mentioned the idea of playing with the chocolate crust (which is both easy to make and tasty). And I couldn’t forget the idea of doing something different with it.


But what? I started exploring my crowded pantry closet to see what I had to work with. Hmm, almond paste, chopped almonds, white chocolate chips, chocolate nibs . . . Voila, I have invented a new cookie! (No, I did not go hunting in my cookbooks.)


The ingredients for the bottom crust are the same as for the earlier pie, save that I added half a cup on the finely chopped almonds to give the bottom layer a bit of crunch.


First Layer (the crust):


1 cup all-purpose flour

2 Tblsp unsweetened cocoa powder

2 Tblsp sugar

½ cup finely chopped blanched almonds

1/2 tsp salt

1/2 stick (1/4 cup) unsalted butter

2 Tblsp vegetable shortening (like Crisco)

1 large egg yolk

2-3 Tblsp ice water


Instructions:


In a food processor, combine the flour, cocoa, sugar, chopped almonds and salt and blend. Add the butter and shortening and pulse until the mixture looks like large crumbs (a few seconds).


Add the egg yolk and ice water and pulse until the dough forms a ball.


On a lightly floured board, flatten the dough then roll out into a round disk about 1/4 inch thick. (This is really easy to roll out!)


I’ve been collecting baking tins for years. For this recipe, I chose a muffin tin (more or less) with room for 12 cakes/cookies. After rolling the dough I cut 12 circles, which would fit neatly in the muffin cups. 


I oiled the cups of the pan and pressed the dough into it. Then I baked this layer in a 350-degree preheated oven for about 5 minutes—just enough to firm it up.


Now on to the new part!


The second layer is pure marzipan. I rolled it out thinly, then cut circles only slightly smaller than the chocolate circles, and pressed them over the chocolate.


Third layer: white chocolate chips, scattered randomly over the top in a single layer.


Fourth layer: small chocolate nibs (I couldn’t even remember why I had those), scattered over the white chocolate (not too thickly).


Then I returned the cookies to the already-heated oven and baked for another 5-10 minutes. The chips should turn a little brown, but not too much, and the bottom crust will remain a bit chewy.


Remove the pan from the oven and let cool partially before removing the cookies from the pan and letting them cool on a wire rack. Use a slender spatula and they come out easily.


Definitely decadent!


Friday, December 28, 2018

PEPPERMINT ICE CREAM PIE WITH CHOCOLATE CRUST


When I attended college (in another millennium) my dorm had a great kitchen, with some memorable dishes (and a few I’d rather forget). One of the most popular was peppermint ice-cream pie. It rarely appeared on the cafeteria menu, and the following day people would line up well before the kitchen opened for lunch, hoping there were a few leftover pieces.


My daughter is here visiting for Christmas, and together we watched a cooking show I’d never heard of, much less watched (we think it was the Food Network’s Holiday Baking Championship). In one segment each contestant made multiple pies, and for one of the pies, one cook used a chocolate pie crust.


I’d never seen one or even heard of one, but it was lovely to look at, dark and shiny. While the college pie used a chocolate crumb crust, I thought this traditional pie crust looked much more elegant. Why not try it?


Peppermint Pie

Ingredients:

Crust

1 cup all-purpose flour
2 Tblsp unsweetened cocoa powder
2 Tblsp sugar
1/2 tsp salt
1/2 stick (1/4 cup) unsalted butter
2 Tblsp vegetable shortening (like Crisco)
1 large egg yolk
2-3 Tblsp ice water


Instructions:

In a food processor, combine the flour, cocoa, sugar and salt and blend. Add the butter and shortening and pulse until the mixture looks like large crumbs (a few seconds).


Add the egg yolk and ice water and pulse until the dough forms a ball.


Press the dough into a ball and flatten into a round disk about 1/4 inch thick. Roll it out on a lightly floured board (working out from the center of the disk).


Lightly oil your pie pan (I used my mother’s vintage Pyrex pan). Press the dough into it, then trim the edges and make a decorative edge.


Prick the bottom of the crust with a fork. Bake in a 425-degree preheated oven until the crust is lightly browned (if you can tell, with a chocolate-colored dough!), about 10 minutes.

Remove from the oven and let cool, because . . . You’re going to fill it with ice cream!

Filling:

You’d be surprised how many different recipes there are available for this pie filling. Some involve gelatin and/or heavy cream, or white chocolate, or crushed peppermint candies.

I took the easy way out: I bought peppermint ice cream. Many of the recipes using ice cream seem to end up with a pink variety, but I found one that’s white with red and green minty bits—a perfect idea for the holiday season.

So, let your ice cream sit out until it’s soft enough to spread in the crust (don’t let it melt!). Spoon it into your now-cool pie crust and smooth out the top. Then put in the freezer to let it harden again (for several hours, or even overnight).

When it’s closer to time to serve, retrieve the pie and decorate it with piped whipped cream (you can add a dash of peppermint extract to the cream if you want) and add some peppermint candies or candy canes. Then it goes back into the freezer until it’s time for dessert. 


And now I’m dreaming up other combinations to try out with that lovely chocolate crust. Marzipan, maybe? A white chocolate filling? Endless possibilities!


MAY 2019 BRING YOU WONDERFUL THINGS!


www.sheilaconnolly.com

Friday, December 21, 2018

Buttermilk and Honey Cheesecake


I am addicted to the Great British Baking Show (at least the earlier versions), and this recipe is inspired by prior co-host Mary Berry. The show also persuaded me to get a Slide-and-Hide oven for the Irish cottage. It’s a big surprise when the door slides out of your hands and sneaks under the oven, when you’re least expecting it!


As you can see, this recipe makes a relatively small (but thick!) cheesecake, which is fine unless you’re serving it to a dozen people over the holidays.


Buttermilk and Honey Cheesecake


1 8-inch round springmold pan with a removable base


Ingredients:


Mary suggested using sponge cake for the base. Me, I’m partial to a graham cracker crust, or in this case, a combination of graham cracker crumbs and finely chopped almonds. Held together by butter, of course. It’s easy to make.


Crust:


3/4 cup fine graham cracker crumbs
3/4 cup finely ground blanched almonds 
1/4 cup melted butter


Combine the crumbs and the butter and mix. Press into the bottom of the pan.


Cheesecake filling:


8 oz. (1/2 pound) full-fat cream cheese, at room temperature

3 large eggs, separated

3 oz. sugar

2 Tblsp clear honey 

2 oz ground almonds (these should be finely ground)

1-1/2 oz. plain flour

1/2 pint buttermilk

Flaked almonds for garnish (optional)


Topping:


1 cup sour cream

2 Tblsp sugar

1/2 tsp almond extract


Instructions:


Preheat the oven to 275 degrees Fahrenheit. Lightly grease the sides of the baking tin.


Place the cream cheese in a large bowl and beat until soft. Beat in the egg yolks along with 1 oz. of the sugar, the honey, the ground almonds, the flour, and the buttermilk (all at once).


In a separate bowl, whisk the egg whites until stiff, then whisk in the rest of the sugar. Fold the whipped eggs into the cheese mixture. Spoon the combined mixture into the pan, on top of the crust layer.


Bake in the preheated oven for about 75 minutes or until the filling is firm but still spongy.


Mix the topping ingredients together, then spoon the mixture over the top of the cheesecake, and return it to the oven for about ten minutes. Remove the cake from the oven and let it cool.


When it is cool, remove it carefully from the baking pan (slide a small rounded knife around the edge to loosen it) and slide it onto a serving plate.


Mary’s recipe called for sliced almonds sprinkled over the top—but I had other ideas!I decided that since it’s nearly Christmas, I’d garnish it with holly leaves (I just happen to have a holly tree out back) and some fresh cranberries for color.


And a holiday gift! The Lost Traveller will be the most recent book in the County Cork Mystery series, and will be released next month. I happen to have a few advance copies and I'm happy to share (don't worry--they don't change in editing). 

The book has received wonderful reviews so far, and I'll happily give all the credit to Ireland, which so many people fall in love with. Just leave a comment (with your email address) and I'll pick a winner next week. You'll have something to look forward to reading during your holiday! 


MAY YOUR HOLIDAYS BE WONDERFUL!

www.sheilaconnolly.com


Friday, December 14, 2018

Singin' Hinnies Explained

Have you ever had an experience where various pieces of your life, past and present, all seem to come together? I had one of those at the writers’ conference Malice Domestic this past year.

I love Ann Cleeves’ books, and the broadcast shows that are based on those books. She and Brenda Blethyn, who plays the title character of the show Vera (but who doesn't look at all like the character she plays), were guests of honor for 2018, and they were both great. 


I was seated and waiting for another author talk, when Ann Cleeves came into the meeting room and sat down next to me. Now, I may be an author with plenty of credits to my name, but I’m still in awe of my idols. Somehow we got to talking about why police officer Vera always calls suspects and people she may not know well “pet.” I asked Ann if there were other terms of endearment used in Northumberland, where the series is set and produced. She said, “hinny.”

And I was struck by lightning. “As in ‘singin’ hinnies?’” I asked. She said yes. Eureka! Past and present collided!


What the heck are singin’ hinnies and why do I know? Flash back to my high school days, when a friend handed me a Mary Stewart mystery and told me I had to read it. I did, and then I read every other one she wrote (although I stopped with The Crystal Cave). And in one of them, she referred to a baked item as a “singin’ hinny,” which is apparently a traditional local pastry in England. I never forgot the term, although I couldn’t remember which book it was from (it turned out to be The Ivy Tree) and why it figured in the plot. And now it was time to make them.


They’re sort of light, slightly sweet English muffins, with raisins or currants and cream and a few other basic ingredients. The eldest recipe I have for them comes from my British and Irish Cooking cookbook, which I bought when I first had an apartment in Cambridge in another millennium. But in fact there are plenty of recipes, which are all similar but slightly different. If you believe Wikipedia, they are also called bannocks, griddle cakes, or scones, in the north of England, and in Scotland they are known as “fatty cutties.” The ‘singin’” part is said to come from the sizzling of the lard or butter in the dough when you cook it on a griddle. (Regrettably mine didn't sizzle.)

So here’s a simple recipe!

Singin’ Hinnies

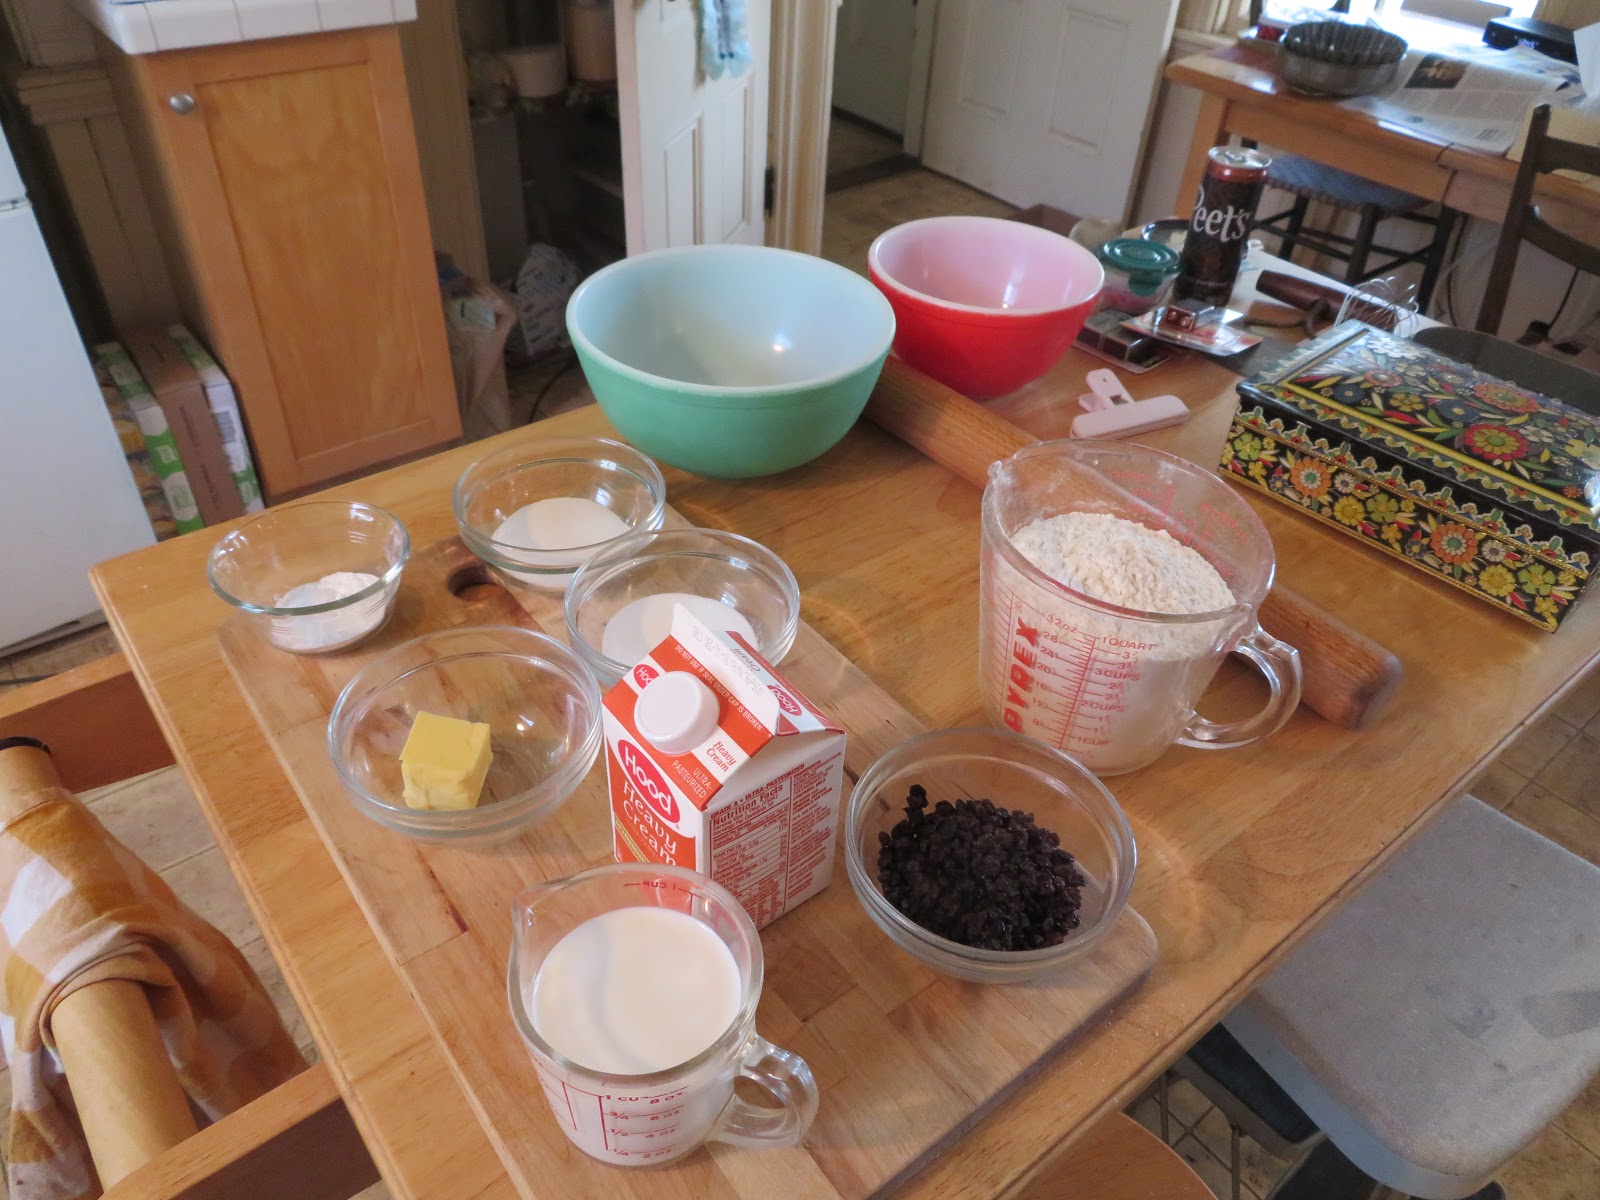
Ingredients:

3-1/4 cups all purpose flour

1/2 cup rice flour
1 tsp salt
1/4 cup sugar
2-1/2 tsp baking powder
1/2 cup currants
1/2 cup cream
3/4 cup milk
2 Tblsp melted butter

Instructions:

In a bowl, combine the flours, salt, sugar, baking powder and currants.


Mix the remaining ingredients together.


Add the liquid to the dry ingredients and blend into a soft dough (do not overwork or it will get tough).

Roll out the dough 1/4-inch thick on a lightly floured board.

Cut into 3-inch rounds and prick each evenly.


Place a griddle (which I just happen to have) or sturdy frying pan on the heat and oil lightly. Place the rounds on the griddle and cook until one side is golden brown, then flip them over and cook the other side.


You can serve them toasted or merely buttered and served warm.


Among the variations you can use cold butter and/or lard, lemon zest, plain flour only (no rice flour). You can also roll out a single round piece and cut into quarters, then cook.


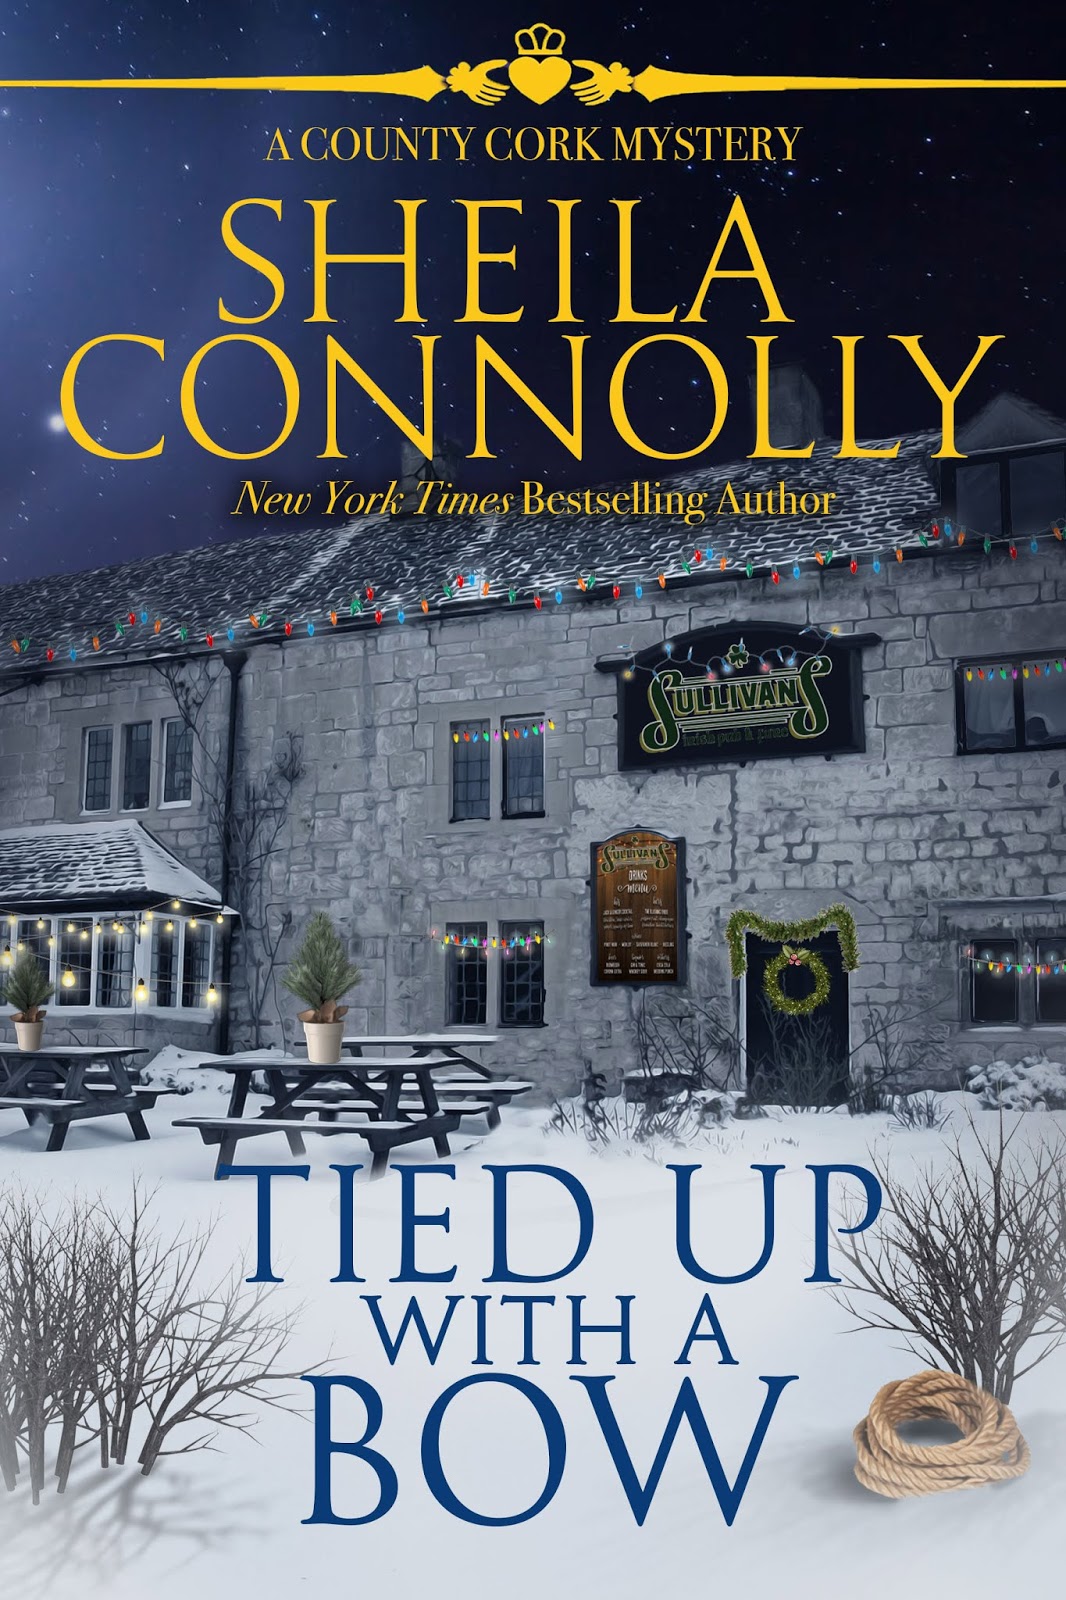
And I can't forget to mention the holiday novella, Tied Up with a Bow, which combines a rather unusual street decoration (based on a real one in Leap, Co. Cork), and an unexpected gift.

Available now!

www.sheilaconnolly.com

Friday, December 7, 2018

Irish Whiskey Cake

The Irish love sweets, which explains why the supermarket’s bakery department is near the front of the store and loaded with yummy cakes and tarts and breads. 


So once again I went hunting for a holiday recipe, and discovered Whiskey Cake. This one comes from an Irish cookbook that I’ve had for years (and quite a few of the recipes include whiskey!).

I’ve been collecting bakeware for a long time—it gives me a reason to prowl antiques fairs and auctions, and the vintage or even antique items are usually very affordable. Baking this new cake gives me an excuse to try out yet another baking tin, which turned out to be a perfect size.


Irish Whiskey Cake

Ingredients (for one 8” cake):


1-1/2 cup raisins
Grated rind and juice of one lemon
2/3 cup Irish whiskey
3/4 cup butter
3/4 cup brown sugar (make sure it’s soft)
1-1/2 cups all-purpose flour
1 tsp baking powder
1/2 tsp ground cloves
pinch of salt
3 eggs, separated

For icing:
1-1/3 cups confectioner’s sugar
the lemon juice from above
a bit of warm water

Instructions:

Soak the raisins and lemon rind in the whiskey for several hours, or overnight.

Cream together the butter ad brown sugar until light and fluffy. Mix together the flour, baking powder, cloves and salt.


Gradually beat the egg yolks (one at a time) into the butter and sugar mixture, alternating with the dry ingredients. Stir in the raisins and whiskey.


Whisk the egg whites until stiff, then fold into the mixture.


reheat the oven to 350 degrees. Grease an 8” cake tin. Spoon the batter into it. 


Bake for about 1-1/2 hours until the cake is well risen and springy to the touch (don't overbake or the cake will dry out). Place the tin on a wire rack and let cool. (If you’ve greased the pan well, the cake will come out easily when cool.)


Icing: Sift the confectioner’s sugar into a bowl. Make a well in the middle. Add half the lemon juice and combine. Add more lemon juice and a bit of water (if needed) until the mixture is thick and smooth.


Place the cake on a plate, then spoon the icing over it, letting it dribble down the sides.


I have to say the cake smells wonderful! The sweet/tart glaze makes a nice contrast to the cake itself, or you could skip that step if you want.


Since I seem to be in an Irish mood, I've just released Tied Up with a Bow, a holiday novella set in Leap.

And next month The Lost Traveller will be out!


www.sheilaconnolly.com