Showing posts with label Sweet Nothings Lingerie Series. Show all posts

Saturday, May 30, 2015

Southern Sweet Tea for the Dog Days of Summer

#Recipe from @Peg Cochran

I know it's heresy--a "Northerner" giving you a recipe for the ubiquitous drink of the South!  But to be honest with you, I never quite knew how to make really good iced tea--it would be bitter, too weak, too strong, etc.  So I started looking for an honest-to-goodness recipe and found this one which I've tweaked a bit to suit us.

According to American Table, the first published recipe for sweetened, non-alcoholic iced tea appeared in Marion Campbell Tyree’s 1879 community cookbook Housekeeping in Old Virginia Containing Contributions from 250 Ladies in Virginia and Her Sister States.  Quite a mouthful, isn't it?

And most of the tea used back then was green tea which is suddenly so in vogue again and which, during World War II, became impossible to get since it was imported from Japan--that's when black tea began appearing in everyone's cup.

 Use six tea bags.  I like to mix it up--some black tea, some green tea and, in this case, some Zen tea from Tazo with green tea, lemongrass and spearmint.


Bring two cups of water to the boil.

Add tea bags and sugar.  Recipe calls for 3/4 cup but that is way too sweet to us.  We substitute 1/3 cup of Splenda, but experiment to see what you prefer.  Cover and let tea steep for 15 minutes

The secret to iced tea that isn't bitter--a pinch of baking soda!


Add six cups of cold water or cold water mixed with ice if you want to drink it right away--although the recipe in Marion Tyree's cookbook gently suggests that if you want the tea for dinner, you should make it at breakfast!  Use a pretty pitcher or a utilitarian container that can go in the fridge with no fear of breaking.

_
 Pour into a pretty glass, sit back, put your feet up and enjoy.


If you'd like to visit a world where there's plenty of sweet tea and a dash of...murder...you might enjoy my Sweet Nothings Lingerie Series written as Meg London.


Saturday, March 21, 2015

Reuben Dip

from Peg Cochran

Yes, I know St. Patrick's day is over...but this dip is great at any time.  I was going to a St. Patty's day party and wanted to make something vaguely Irish (this has corned beef in it--that counts, right?)  Anyway, it was hugely popular and a number of people asked for the recipe.

The original recipe comes from Taste of Home, but of course I tinkered with it a bit.  You can make this in a 1 1/2 quart slow cooker.  I didn't have time for the slow cooker so I popped it in the oven for about 30 minutes at 350 first then transferred it to the slow cooker to take to the party.

Ingredients:

4 2-ounce packages of deli corned beef, sliced finely (or, you can buy 1/2 pound at the deli counter)
1 8-ounce package of cream cheese, cut into small pieces
1 8-ounce can sauerkraut, rinsed and drained
1/2 cup sour cream
1/2 cup Russian dressing (I made it with mayo, ketchup and pickle relish)
1 cup shredded swiss cheese
cocktail rye or crackers for serving

Combine all the ingredients in your slow cooker and cook for approximately two hours until the ingredients are melted and the flavors are melded!  (Or start it in the oven as above and transfer to your slow cooker to keep warm.)  My small slow cooker only has one temperature so cook on low if you're not in a hurry and high if you are--but to keep it warm, be sure to turn to low.

NOTE:  I would have liked a bit more of a sauerkraut taste so next time I will either add more, or not rinse it.


Shredded corned beef


Mix all ingredients together


Cook in your slow cooker or use it to keep dip warm


Special Promo: Only $.99


Coming August 2015! Available for pre-order


Stop by my web site for a complete list of my books.

Sunday, November 23, 2014

Pumpkin Chiffon Pie

I hope everyone is enjoying Thanksgiving Week here at Mystery Lovers' Kitchen!


Now, what's Thanksgiving without pumpkin pie, right?  Believe it or not, I didn't like pumpkin pie when I was growing up.  We didn't have it at Thanksgiving because my father didn't like it either.  I don't remember what we had instead...possibly Italian pastries since my father's side of the family is Italian.

This recipe comes from my late mother-in-law, and it was the first pumpkin pie that I actually liked (I've long since been converted to all kinds of pumpkin pies!).  I think she got the recipe off a box of Knox gelatin a couple of decades ago.  It's lighter than traditional pumpkin pie and is very easy to make although you have to allow plenty of time for it to chill during the various steps.

Pumpkin Chiffon Pie

1 baked 9" pie crust
1 envelope Knox unflavored gelatin
3/4 cup packed brown sugar
1/2 tsp salt
1/2 tsp nutmeg
1 tsp cinnamon
1/2 cup milk
1/4 cup water
3 eggs yolks
1 1/2 cups pumpkin (the plain kind)
3 egg whites
1/4 white sugar


Combine the gelatin, brown sugar, spices, milk, water, egg yolks and pumpkin in the top of a double boiler.  Place over boiling water and heat, stirring occasionally, for approximately 10 minutes until gelatin is melted and mixture is heated through.  Chill until mixture mounds when dropped from a spoon.

Beat egg whites until stiff then beat in white sugar.  Stir into chilled pumpkin mixture and pour into baked pie shell.  Chill until firm (approximately six hours.)  Serve topped with whipped cream if desired.


 Pumpkin, spice, egg mixture


Place over boiling water


Decorate with whipped cream if desired


Happy Thanksgiving to you and yours!


Today I am giving away a copy of the latest book in my Gourmet De-Lite series, ICED TO DEATH.


In order to win, leave a comment in the comment section.  Tell us what you are most thankful for this year!


Happy Thanksgiving from me and Reg!
Peg


You might also enjoy my Lucille series:

                  Buy Now


Visit my web site or join the fun on Facebook and get all my giveaway alerts!
Stay tuned for information about my Cranberry Cove series which debuts next year!


Sunday, October 19, 2014

Langues de Chat

Or Cat's Tongues 
by Peg Cochran

I got my first cat when I was around seven years old.  Predictably, since she was orange and white striped, she was named Tiger. Many cats followed.  Somehow a cat always ended up on our doorstep during a howling snow storm and my mother would let them in "just so she could give them something to eat."  Of course they stayed.  Somehow they were also always female and pregnant.

 
I remember one in particular that was a beautiful Persian and had the most adorable kittens--half were balls of fluff, the other two were short-haired.  All these stray cats always had the name of "Puss."  Our dog was Boots so we had Puss and Boots. 
   
Fast forward: Our latest cat, Frazzle, went over the rainbow bridge a couple of
Frazzle with younger brother Reg
months ago.  My stepson found her in a dumpster and she looked as if she'd stuck her paw in an electrical socket so she looked quite "frazzled" hence the name.  According to the vet she was a dilute calico.  She was a strange cat--scaring herself with her own tail and once even chasing herself off the kitchen counter with it!


These cookies are called "langues de chat" or cat's tongues because that is what they resemble.  Cat's tongues are fascinating--they have tiny, backward-facing barbs (papillae) on them which create the rough sensation you feel.  For some more fascinating facts about cats' tongues, visit Interesting Facts About Your Cat's Tongue.
My granddaughter & grand cat Roy


On to the cookies!  The batter is simple to make and only takes minutes.  To pipe out the cookies, either use a pastry bag with a medium star tip, a heavy duty baggie with the corner snipped off or a cookie press.  I used the baggie method.  I am sure they would be more "perfect" if I'd used a pastry bag but they were still delicious!

 
1 stick butter (1/4 pound)
1/2 cup sugar
3 egg whites
1 1/2 cups flour
1 1/2 teaspoons vanilla

Cream the butter and sugar together, then add the egg whites one at a time, beating well after each addition.  Add in flour and vanilla and mix well.  Fill a pastry bag with the batter and pipe three inch lines on a parchment covered baking sheet.  Leave plenty of room for the cookies to expand.

Bake in a 400 degree oven *approximately* ten minutes or until golden brown around the edges.  Baking time varies tremendously depending on your oven, the thickness of your cookies, etc. so these are the kind of cookies you need to keep a close eye on while baking!


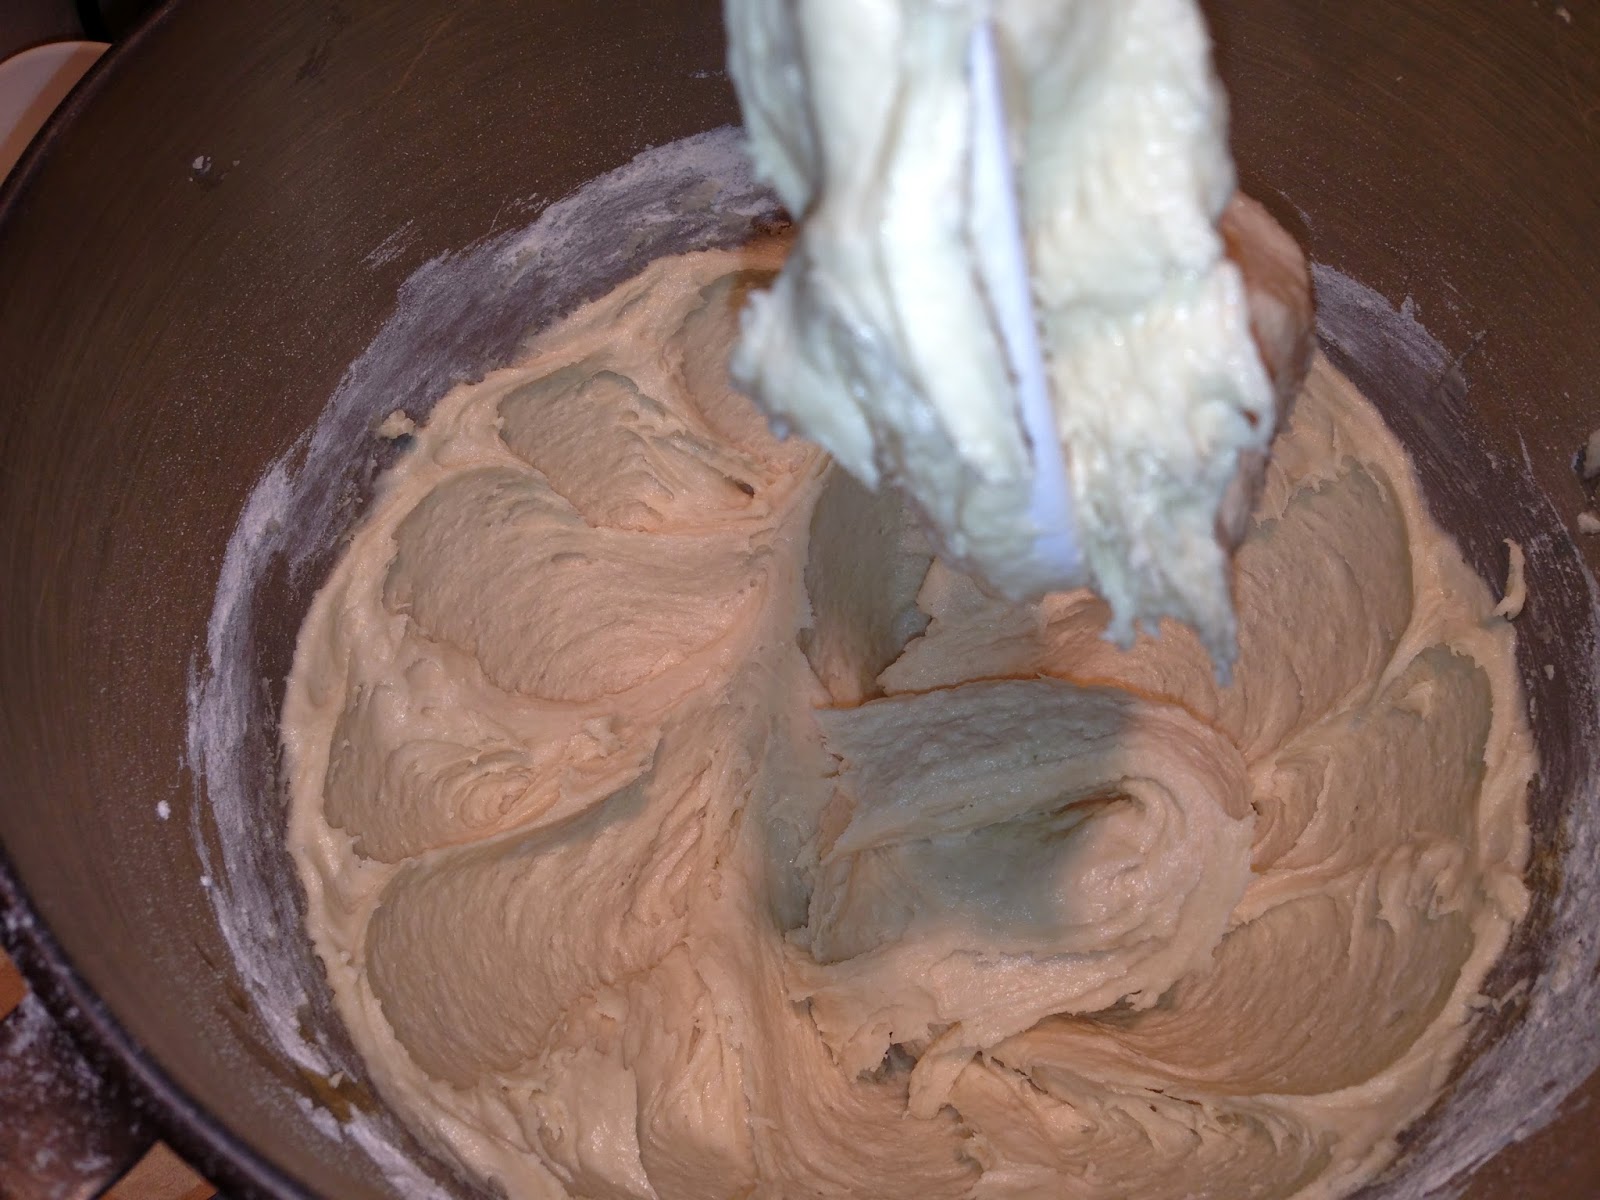
 Cream butter and sugar until light.


Add egg whites, flour and vanilla and mix thoroughly.


Cookies can be dipped in chocolate--or you can "glue" two together with jam or melted chocolate--or you can eat them plain! 


Cookies are perfect with tea or coffee and a good cozy!  

You can pick up a copy of ICED to DEATH from my Gourmet De-Lite series here.
Or a copy of UNHOLY MATRIMONY from my Lucille Series here.  
Visit my website or my Facebook page.

Saturday, July 19, 2014

Happy Anniversary to Us! Strawberry & Blueberry Sponge Cake

by Peg Cochran

Celebrate!  Celebrate! Dance to the music...oops, you've caught me dancing, I'm so excited about our anniversary celebration.  We are having two contests (more below) and lots of lucky winners!

I am celebrating with strawberry & blueberry sponge cake.  This recipe comes from Teta Ann, my late husband's aunt.  (Teta means aunt.)  She was an amazing baker (and cook).  She could take a lump of strudel dough and stretch it until it covered her entire dining room table!

We always called this "strawberry shortcake" but in reality, it's a sponge cake and very easy to make.  You can top it with any kind of fruit you like.  The cake itself is very light and airy.

It's easy to remember, too!  8 eggs, 8 tablespoons flour, 8 tablespoons sugar!

My sister-in-law and I are the third generation to use this recipe, and I'll be passing it along to my daughters, too!  I hope you enjoy it as well.


Teta’s Sponge Cake

8 eggs, separated
8 tablespoons sugar
8 tablespoons flour
¼ teaspoon baking powder
1 teaspoon vanilla

Beat egg yolks, sugar and vanilla until thick and lemon colored.  Beat egg whites until stiff.

Stir baking powder into flour and add mixture to egg yolk mixture one tablespoon at a time. 

Fold in stiffly beaten egg whites.

Bake in a greased and floured 8 x 12 inch pan (I used a 9 x 13 and it worked fine) for 20 to 30 minutes at 325 degrees. (My oven runs hot so I check it early.)  I also just sprayed the pan with cooking spray which wasn't around when this recipe was created.

Let cake sit 5 to 10 minutes then turn out onto a rack covered with a brown paper bag (or brown paper!).  The brown paper will absorb some of the grease from the eggs in the cake.

Beat one pint of whipping cream with powdered sugar (as desired for level of sweetness)

Cover cake with whipped cream.  Dip strawberries or other fruit in sugar and arrange on cake.  (Or, you can cheat like I did, and put the berries in a bowl and sprinkle with sugar.)  


Separate yolks and whites


Beat egg whites until stiff


Beat yolks and sugar until lemon colored


Fold egg whites into yolks


Ready to go into the oven


Nicely browned on top


Invert onto rack covered with brown paper


Prepare your choice of fruit


Cover cake with prepared whipped cream


Ready to decorate


Happy 5th anniversary Mystery Lovers' Kitchen!
 
AND NOW ABOUT THAT CONTEST I PROMISED YOU!
 

We want to share our excitement and celebrate with you with some fabulous prizes.  To enter our daily book giveaway for today, just leave a comment below telling us with whom you shared information about our contest—your sister, friend, neighbor, book club—it’s up to you!  I am giving away TWO books--an e-book from my Lucille Series--CONFESSION IS MURDER and a copy of the third book in my Gourmet De-Lite series, ICED TO DEATH.  Remember to leave your email address so I can contact you if you win!

And now for the BIG contest news:  we are also giving away a darling mystery-themed tote bag STUFFED with seven of our books!  To be entered in that contest, send us a picture of one of the Mystery Lovers’ Kitchen bloggers’ books with:

a)      A cat

b)      A dog

c)       At the library

d)      At the bookstore

e)      Having summer fun


Five lucky people will win the tote and all the great summer reads.  To enter the photo contest go HERE for directions and the entry form.


For more about my books, visit my web site or Facebook page.


Saturday, June 7, 2014

Quesadillas on the Grill

by Peg Cochran


Finally grilling season is here to stay in West Michigan.  We seem to have gone from ten foot piles of snow to summer in the space of a couple of days.  Spring was SHORT this year!

I was looking for something different to grill when I came up with the idea of quesadillas for dinner.  I checked some recipes and then decided to combine a couple of them to create my own variation.  Some were way too detailed for the mood I was in (late Sunday afternoon) and some didn’t have any meat in them, and I wanted these to be a main course not a snack.

I treated myself to a jar of Adobo Seasoning—something new for me.   It added a nice flavor to the chicken although I used it sparingly since the first ingredient listed is salt. 

This recipe is adaptable to your needs.  I grilled two chicken breasts (check out those grill marks!) and ended up using only one for two people and saving the other for lunches.

Sprinkle the chicken with Adobo seasoning and grill until your thermometer reads at least 165 degrees.

While the chicken is grilling, place a pepper of your choice (red, green, yellow, orange) on the grill.  Keep turning it until the skin blisters and blackens.  Remove from the grill and place in a plastic bag and allow it to steam until cool enough to handle.  Remove the charred skin and cut the pepper into thin strips. 

Cut grilled chicken into strips approximately the same size as the pepper strips.

Grate a good handful of cheese—I chose Monterey Jack, but you could use the cheese of your choice.  

 Place one tortilla on the grill and quickly arrange chicken and pepper on top and sprinkle with cheese.  Place another tortilla on top and press down with a spatula.  When the bottom tortilla is golden, flip them to grill the top tortilla.  (Next time I think I will put the fillings on half the tortilla and fold it in half to grill—easier to turn.) 

When the other side is golden, remove from grill.  Serve with toppings of your choice:  salsa, avocado, sour cream, salsa verde.  I like to put my toppings on top because, well, they are called “toppings.”  My husband likes to open the quesadilla and put his inside.  Kind of a you say tomato and I say “tom-ah-to” kind of thing.  

I served the quesadillas with a black bean salad.  No recipe, I just mixed a can of rinsed black beans, about a cup of corn, a half an avocado cut into small pieces and then tossed it with a lime/olive oil/cilantro dressing.  Perfect!


Trying a new seasoning.  Sprinkle on the chicken before grilling

Grill pepper until charred, steam in plastic bag and then remove skin


Black bean, corn and avocado salad makes a great side dish


Add caption

I have a new series coming in August 2015--the Cranberry Cove series.  I'm really excited about it and can't wait for you to become a part of Cranberry Cove!


Visit my website or join me on Facebook!  I'm also on Twitter @pegcochran


Saturday, May 17, 2014

Poof! Magic Cake!


by Peg Cochran

I found this recipe on the Internet in a number of places.  There were several variations, but the basic ingredients were the same.  I needed something to take to our monthly wine tasting (that sounds so highbrow--it's basically an excuse to get together and drink wine.  I don't think I've learned a thing about vintages and types of grapes, etc.)  We have the choice of bringing an appetizer or a dessert, and the theme was "spring."  Since we're so often late, I opted to make a dessert.

The cake is "magic" because it bakes into three separate layers:  cake on the top and bottom and custard in the middle.  I was pretty skeptical but decided to give it a go.  I also decided to jazz it up a bit.  Since our theme was spring, I added toasted coconut and some lime zest to the top.

It was very easy to make and must have been a hit because when I went to retrieve my serving plate, all the cake was gone.  Of course I'm sure my husband was responsible for quite a few pieces being eaten!

Ingredients
4 eggs, separated, at room temperature
1 tsp vanilla extract
3/4 cup sugar
1/2 cup butter (1 stick) melted
3/4 cup all purpose flour
2 cups lukewarm milk
Powdered sugar and optional toasted coconut and zest from one lime.

Preheat oven to 325 degrees.

Grease an 8 x 8 inch pan (I used Pam to spray it)

Place egg whites in a bowl, and, using a mixer, mix until they are stiff but not dry.  In a separate bowl, beat egg yolks with the sugar until light and lemon colored.  Add melted butter and vanilla extract and continue beating until mixed.  Add flour a little at a time and beat until fully incorporated.

Add the milk slowly and beat until well mixed.  Fold in beaten egg whites one third at a time (I found that for this recipe whisking them in worked well.)  The batter should look "bubbly" on top.

Pour the batter into your baking dish and bake.  Begin checking at 40 minutes.  My cake took 50 minutes, but it can take up to 70 minutes depending on your oven.  When the cake is no longer really "jiggly" it is done.  It will be brown on top and pulling away from the sides of the pan.

Let cake cool and then sprinkle with powdered sugar and the optional coconut and lime zest.  You can get creative and decorate the top with cut strawberries, blueberries or other fruit but the cake is delicious as is.

Cut cake in the pan into "brownie-sized" pieces.  I made mine smaller so that more people could have a bite of the cake since there would be other desserts to enjoy as well.


Four eggs with five yolks!

Lemon colored yolks and sugar

Egg whites:  stiff but not dry Below: egg whites incorporated into batter


Blogger has decided not to let me add any more captions today so... the picture that is second from the bottom shows the egg whites incorporated into the batter.  The final picture shows the finished cake with the three delicious layers!   It really is GOOD!


Have you met Lucille Mazzarella?  If not, you must try my Lucille Series starting with Confession Is Murder and the sequel Unholy Matrimony.  I also write the Gourmet De-Lite series with Gigi Fitzgerald and her Westie Reg!

Come hang out with me on Facebook or visit my web site!  I chat on twitter: @pegcochran and I'd love to hear from you!  Let me know if you try this delicious cake and what you think!