Showing posts with label Meg London. Show all posts

Saturday, May 30, 2015

Southern Sweet Tea for the Dog Days of Summer

#Recipe from @Peg Cochran

I know it's heresy--a "Northerner" giving you a recipe for the ubiquitous drink of the South!  But to be honest with you, I never quite knew how to make really good iced tea--it would be bitter, too weak, too strong, etc.  So I started looking for an honest-to-goodness recipe and found this one which I've tweaked a bit to suit us.

According to American Table, the first published recipe for sweetened, non-alcoholic iced tea appeared in Marion Campbell Tyree’s 1879 community cookbook Housekeeping in Old Virginia Containing Contributions from 250 Ladies in Virginia and Her Sister States.  Quite a mouthful, isn't it?

And most of the tea used back then was green tea which is suddenly so in vogue again and which, during World War II, became impossible to get since it was imported from Japan--that's when black tea began appearing in everyone's cup.

 Use six tea bags.  I like to mix it up--some black tea, some green tea and, in this case, some Zen tea from Tazo with green tea, lemongrass and spearmint.


Bring two cups of water to the boil.

Add tea bags and sugar.  Recipe calls for 3/4 cup but that is way too sweet to us.  We substitute 1/3 cup of Splenda, but experiment to see what you prefer.  Cover and let tea steep for 15 minutes

The secret to iced tea that isn't bitter--a pinch of baking soda!


Add six cups of cold water or cold water mixed with ice if you want to drink it right away--although the recipe in Marion Tyree's cookbook gently suggests that if you want the tea for dinner, you should make it at breakfast!  Use a pretty pitcher or a utilitarian container that can go in the fridge with no fear of breaking.

_
 Pour into a pretty glass, sit back, put your feet up and enjoy.


If you'd like to visit a world where there's plenty of sweet tea and a dash of...murder...you might enjoy my Sweet Nothings Lingerie Series written as Meg London.


Saturday, April 18, 2015

Chicken and Potato Tagine


Since I bought my tagine--a Moroccan cooking vessel (see my first dish with it here), I've felt a need to use it again.  My husband keeps eying it in the cupboard and scratching his head.  I'm sure he's thinking, "what on earth did she need that for?"  But if you love to cook, you know that trying new utensils, tools and ways of cooking is like, well, the adrenaline rush other people get from bungee jumping or skydiving.  Just a lot safer.

The basis for this recipe is one I found on (About) Food.  But I incorporated a few things from other recipes and left out ingredients I didn't have...I'm easy that way.

Ingredients

Chicken (either cut up a whole chicken or use parts--in my case I wanted to use up some leg/thigh combos that were in the freezer.

1 large onion, sliced

3 or 4 cloves of garlic, finely chopped or pressed

2 teaspoons ginger

1 teaspoon salt, or to taste

1 teaspoon turmeric

1/2 teaspoon black pepper

Splash of chicken broth

1/4 cup chopped fresh parsley or cilantro

A couple of tablespoons of olive oil

A couple of potatoes depending on how many you are serving -- peeled and thinly sliced

I took the skin off my chicken pieces because unless you brown the skin...well, yuck, right?

Combine all the spices and the garlic and fresh parsley and/or cilantro (I used both because I had them and I love cilantro) in a bowl and add the chicken pieces.  Use your hands to coat the chicken pieces with the spice mixture.

Place the sliced onions in the bottom of the tagine (or your pot), cover with the sliced potatoes.


Arrange the chicken pieces on top.  Pour a splash (about 1/2 cup) of chicken broth into the bowl the chicken was in and swirl around to collect any remaining spice mixture.  Pour on top of the chicken.  Drizzle some olive oil on top (the original recipe called for 1/3 cup but I just...couldn't.  Too much oil for my taste.)


I still don't have a diffuser so I couldn't cook this on top of the stove as per instructions (the tagine could crack) so I baked it at 350 degrees in the oven for around 45 to 60 minutes--until the chicken was done and the potatoes were cooked.

The smells are incredible!  The great part about having a tagine is that you can bring it straight to the table and serve from there.  


I served the chicken with baby bok choy.  A bit of a mix of two cultures, but they went together very well!


Saturday, January 3, 2015

Butter Pecan Bars

From the kitchen of Peg Cochran

I had planned to share this recipe with you because it was sooooo good, and then I thought, "more cookies!"  We've just had a plethora of cookie and goodie recipes over the Christmas season.  Now is the time for some lean cuisine to fit in with everyone's new year resolutions.

But you still need cookies for your book club meeting, right?  And the PTO bake sale, no?  And to offer your neighbor when she pops over for tea, of course.  So, here is another cookie recipe you can keep in your pocket for when needed (like for after dinner tonight maybe?)  The recipe comes from our local newspaper, the Grand Rapids Press, courtesy of Jessica Webster.

The cool thing about these cookies is they can be baked in a jelly roll pan--which I did, and they come out almost like toffee, or in an 8 x 8 pan which results in a brownie-type cookie (so the article says, I made mine in a jelly roll pan.)

So without further ado, here is the recipe:

2 large eggs
1 cup brown sugar, packed
1 cup white granulated sugar
3/4 cup butter, melted
1 1/4 cups flour
1 teaspoon vanilla extract
1 cup chopped pecans

Beat eggs in a large bowl.  Mix in brown and white sugars (I used my stand mixer.)  Pour in melted butter and blend.


Add vanilla and flour and mix well.  Stir in chopped nuts.


Spread on a greased 10 x 15 inch jelly roll pan.  (Note:  I lined my pan with parchment paper sprayed with cooking spay which I cut to hang slightly over the edges.  That made it really easy to lift the entire pan of cookies out to a cutting board which made for easier cutting.)


Lift out of the pan by holding the edges of the parchment paper

Or, spread in a greased 8 x 8 inch square pan.

Bake at 350 degrees for 40 minutes if using the square pan or 25 to 30 minutes if using the jelly roll pan.  As usual, your oven mileage may vary so check frequently for doneness.  They are done when the top is browned slightly and the cookies are pulling away from the edges of the pan.  Cool before cutting.


I transferred the whole batch to my cutting board and cut into small squares--they are very rich!  And if they're small, you're perfectly justified in taking more than one.  They freeze well so keep a batch in your freezer for those times when you need a homemade cookie.


I am thrilled to annouce that Berried Secrets from my Cranberry Cove series will debut in August 2015 and is now available for pre-order!  Cover reveal very soon, I promise!!  It's darling!

Also coming soon, Hit and Nun, from my Lucille series--mid-January from Beyond the Page Publishing.  Cover also coming soon!

If you like culinary mysteries, catch up with my Gourmet De-Lite series if you haven't already.  ICED TO DEATH is out now.


For up-to-date news, stop by my web site and sign up for my newsletter or join the chat on my Facebook page

Thursday, December 18, 2014

Holiday Rum Balls

This recipe comes from my late mother-in-law.  She made wonderful Christmas cookies every year, and we all gained at least five pounds enjoying them!   These require no baking and they improve with age.  I took them to a party the same night, and they must have been good because they were gone before I turned around--no time to age!

3 cups whole vanilla wafers (approximately 36), crushed (I use my food processor)
1 cup chopped nuts
3/4 cup powdered sugar
3 tablespoons light corn syrup
1/4 cup rum (or whiskey)

Combine the above in a large bowl.  Roll into small balls (I found it helpful to wet my hands) and then roll in powdered sugar.  Refrigerate to firm up and serve at room temp.


Simple ingredients


Combine ingredients in a large bowl


Mix thoroughly


Roll into balls and place on parchment or wax paper covered cookie sheet 


Roll in powdered sugar


They look like snow balls!


If you are leaving some for Santa, don't leave too many! These are potent, and you don't want him to get a DUI while delivering the gifts! It's probably best if these are reserved for a grown-up treat!


 If you enjoy my Lucille series (Unholy Matrimony out now), Hit and Nun will be out the beginning of January!  I will keep you posted.

And, coming in August 2015, Berried Secrets, the first in my Cranberry Cove series.  It's available for pre-order now from Amazon!

Stop by my web site for more up-dates and join me on Facebook.

Merry Christmas to all, and to all a good-night!


Saturday, December 6, 2014

Yellow Split Pea Dal

What do you make when you're thoroughly sick of turkey, mashed potatoes and all that jazz?  How about something spicy--curry maybe?

Hubby is at a luncheon today and will probably want a lighter dinner so soup is perfect.  "Dal" actually means dried bean and also the thick soup/stew made from the dried beans.

Begin by soaking your beans--either a quick soak (boil for two minutes, remove from heat, cover and let stand for an hour) or soak overnight.  Why do we soak beans?  Good question!


Bring beans and water to the boil then remove from heat and cover
  • Soaking beans removes some of their gas causing properties from the indigestible complex sugars found in the outer skin--known as oligosaccharides.
  • Soaking also speeds cooking time by up to 70% thus reducing the loss of nutrients inside the dried bean.
  • Soaking removes DIRT.  Beans are not washed before packaging because dampness could cause them to mold or sprout.
  • Soaking also allows the beans to absorb liquid more slowly thus preventing them from splitting open while cooking.
  • NOTE:  Always  discard the soaking water (it's dirty!) and rinse beans again before cooking. 

 Clean, soaked split peas

Ingredients:
1 1-lb. bag yellow split peas
2 celery stalks
1 large or 2 medium carrots
1 onion
1 to 2 TBL olive oil
1 TBL curry powder (or to taste)
1 TBL lemon juice
1 bay leaf
Salt to taste
8 cups chicken broth 
2/3 cup elbow macaroni or other small pasta

Chop celery, carrots and onion.  I chop mine quite finely in the food processor because hubby prefers his vegetables to be disguised. Chop yours however you prefer.

 Chop carrots, celery and onion

Saute vegetables in olive oil until softened.  Add remaining ingredients, stir, and simmer for approximately one hour until peas are tender (your time may vary depending on the freshness of the peas.)

Cook macaroni separately until just al dente.

Either remove some of the soup to a bowl and use an immersion blender to puree the remainder of the soup in the pot, or scoop out several cups of soup and puree in a food processor.  Return to pot, add macaroni and enjoy!

Top soup with a dollop of yogurt or sour cream if desired.  


I am excited to announce that the first book in my new Cranberry Cove Series, BERRIED SECRETS is now available for pre-order from Amazon!  No cover yet, but I will post it when I have it!


Also, the third book in my Lucille Mystery Series, HIT AND NUN, will be out later this month.  I'll keep you posted!  

Also available--my Gourmet De-Lite series and my Sweet Nothings series written as Meg London.

 Join the conversation on FACEBOOK--lots of giveaway alerts!
And visit my web site for more about my books.


Sunday, November 23, 2014

Pumpkin Chiffon Pie

I hope everyone is enjoying Thanksgiving Week here at Mystery Lovers' Kitchen!


Now, what's Thanksgiving without pumpkin pie, right?  Believe it or not, I didn't like pumpkin pie when I was growing up.  We didn't have it at Thanksgiving because my father didn't like it either.  I don't remember what we had instead...possibly Italian pastries since my father's side of the family is Italian.

This recipe comes from my late mother-in-law, and it was the first pumpkin pie that I actually liked (I've long since been converted to all kinds of pumpkin pies!).  I think she got the recipe off a box of Knox gelatin a couple of decades ago.  It's lighter than traditional pumpkin pie and is very easy to make although you have to allow plenty of time for it to chill during the various steps.

Pumpkin Chiffon Pie

1 baked 9" pie crust
1 envelope Knox unflavored gelatin
3/4 cup packed brown sugar
1/2 tsp salt
1/2 tsp nutmeg
1 tsp cinnamon
1/2 cup milk
1/4 cup water
3 eggs yolks
1 1/2 cups pumpkin (the plain kind)
3 egg whites
1/4 white sugar


Combine the gelatin, brown sugar, spices, milk, water, egg yolks and pumpkin in the top of a double boiler.  Place over boiling water and heat, stirring occasionally, for approximately 10 minutes until gelatin is melted and mixture is heated through.  Chill until mixture mounds when dropped from a spoon.

Beat egg whites until stiff then beat in white sugar.  Stir into chilled pumpkin mixture and pour into baked pie shell.  Chill until firm (approximately six hours.)  Serve topped with whipped cream if desired.


 Pumpkin, spice, egg mixture


Place over boiling water


Decorate with whipped cream if desired


Happy Thanksgiving to you and yours!


Today I am giving away a copy of the latest book in my Gourmet De-Lite series, ICED TO DEATH.


In order to win, leave a comment in the comment section.  Tell us what you are most thankful for this year!


Happy Thanksgiving from me and Reg!
Peg


You might also enjoy my Lucille series:

                  Buy Now


Visit my web site or join the fun on Facebook and get all my giveaway alerts!
Stay tuned for information about my Cranberry Cove series which debuts next year!


Saturday, November 15, 2014

Hot Crab Cocktail Spread

Doesn't that name--"Hot Crab Cocktail Spread"--just scream 1950s and 1960s to you?  This recipe is from my mother--carefully written in perfect penmanship on a recipe card.  It's actually very good, very easy and perfect for the pre-Thanksgiving feast or the many opportunities to entertain during the upcoming holiday season.

Ingredients:
8 oz package cream cheese
1 tablespoon  milk
2 teaspoons Worcestershire
7.5 ounce can of crabmeat
2 tablespoons chopped green onions
2 tablespoons slivered almonds

I could not find a 7.5 ounce can of crabmeat so I used the size that is the same size as a regular can of tuna--I think it's 6 ounces.  If you want a more "crabby" taste, I would use two cans.

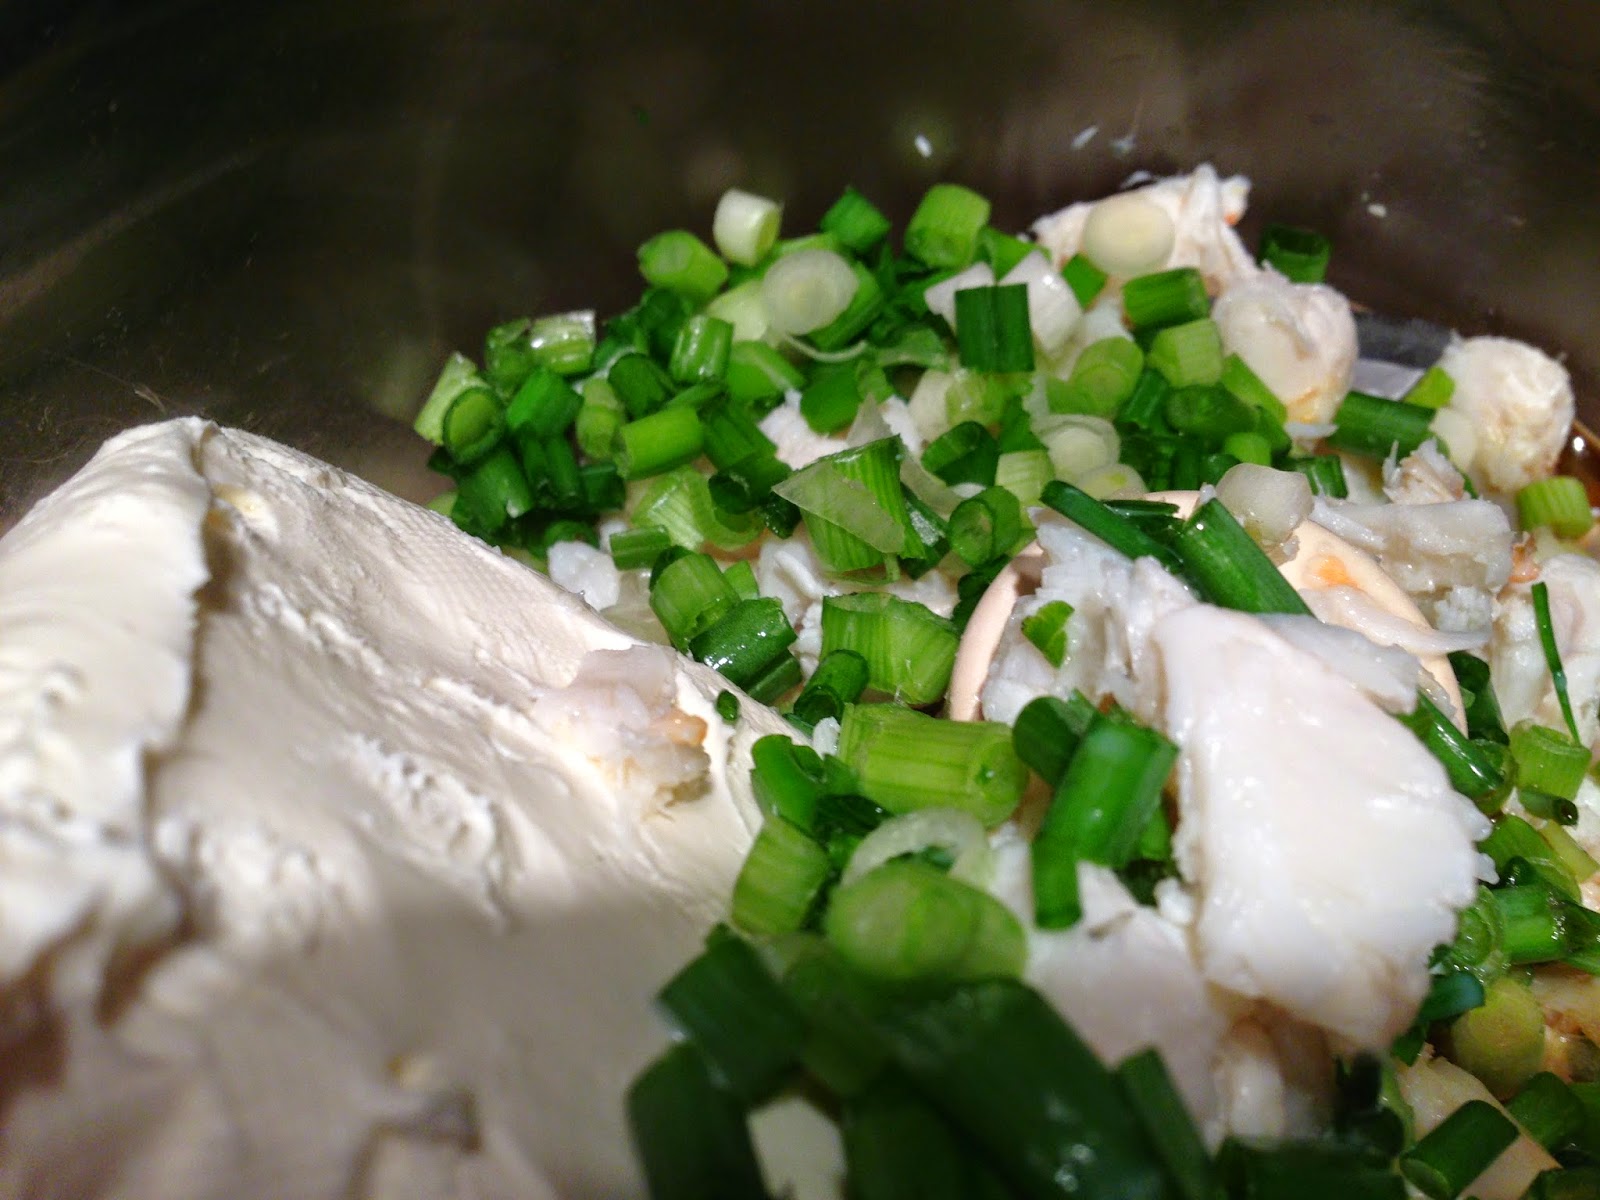
Cream the cream cheese with the milk and Worcestershire sauce.  I used a food processor, but you can also use a mixer.  Flake the crabmeat and mix in along with the chopped green onions.  I threw it all in the food processor which made for easy mixing.  Place in a greased 8 inch pie plate, top with slivered almonds and bake at 350 degrees until heated through--approximately 15 minutes.


The original handwritten recipe.


Drain and flake crabmeat


Combine cream cheese, scallions, Worcestershire, milk.


Place in greased pie plate, top with slivered almonds and bake until hot and bubbling


Enjoy on crackers or slices of crusty bread

I transferred my spread from the pie plate to a mini-slow cooker I had purchased recently to keep it warm since we were bringing it as our contribution to a party. It worked out perfectly and there was nothing left at the end of the evening!


 Lots of delicious food in my Gourmet De-Lite series--Allergic to Death is the first book.


My protagonist in my Lucille series believes that feeding her family is one of the most important jobs she has.
Lots of sweet tea, lemonade and chess pie in my Sweet Nothings series!

Catch up with me on my web site or on Facebook or Twitter @pegcochran